3D Printing: From Digital Model to Physical Object
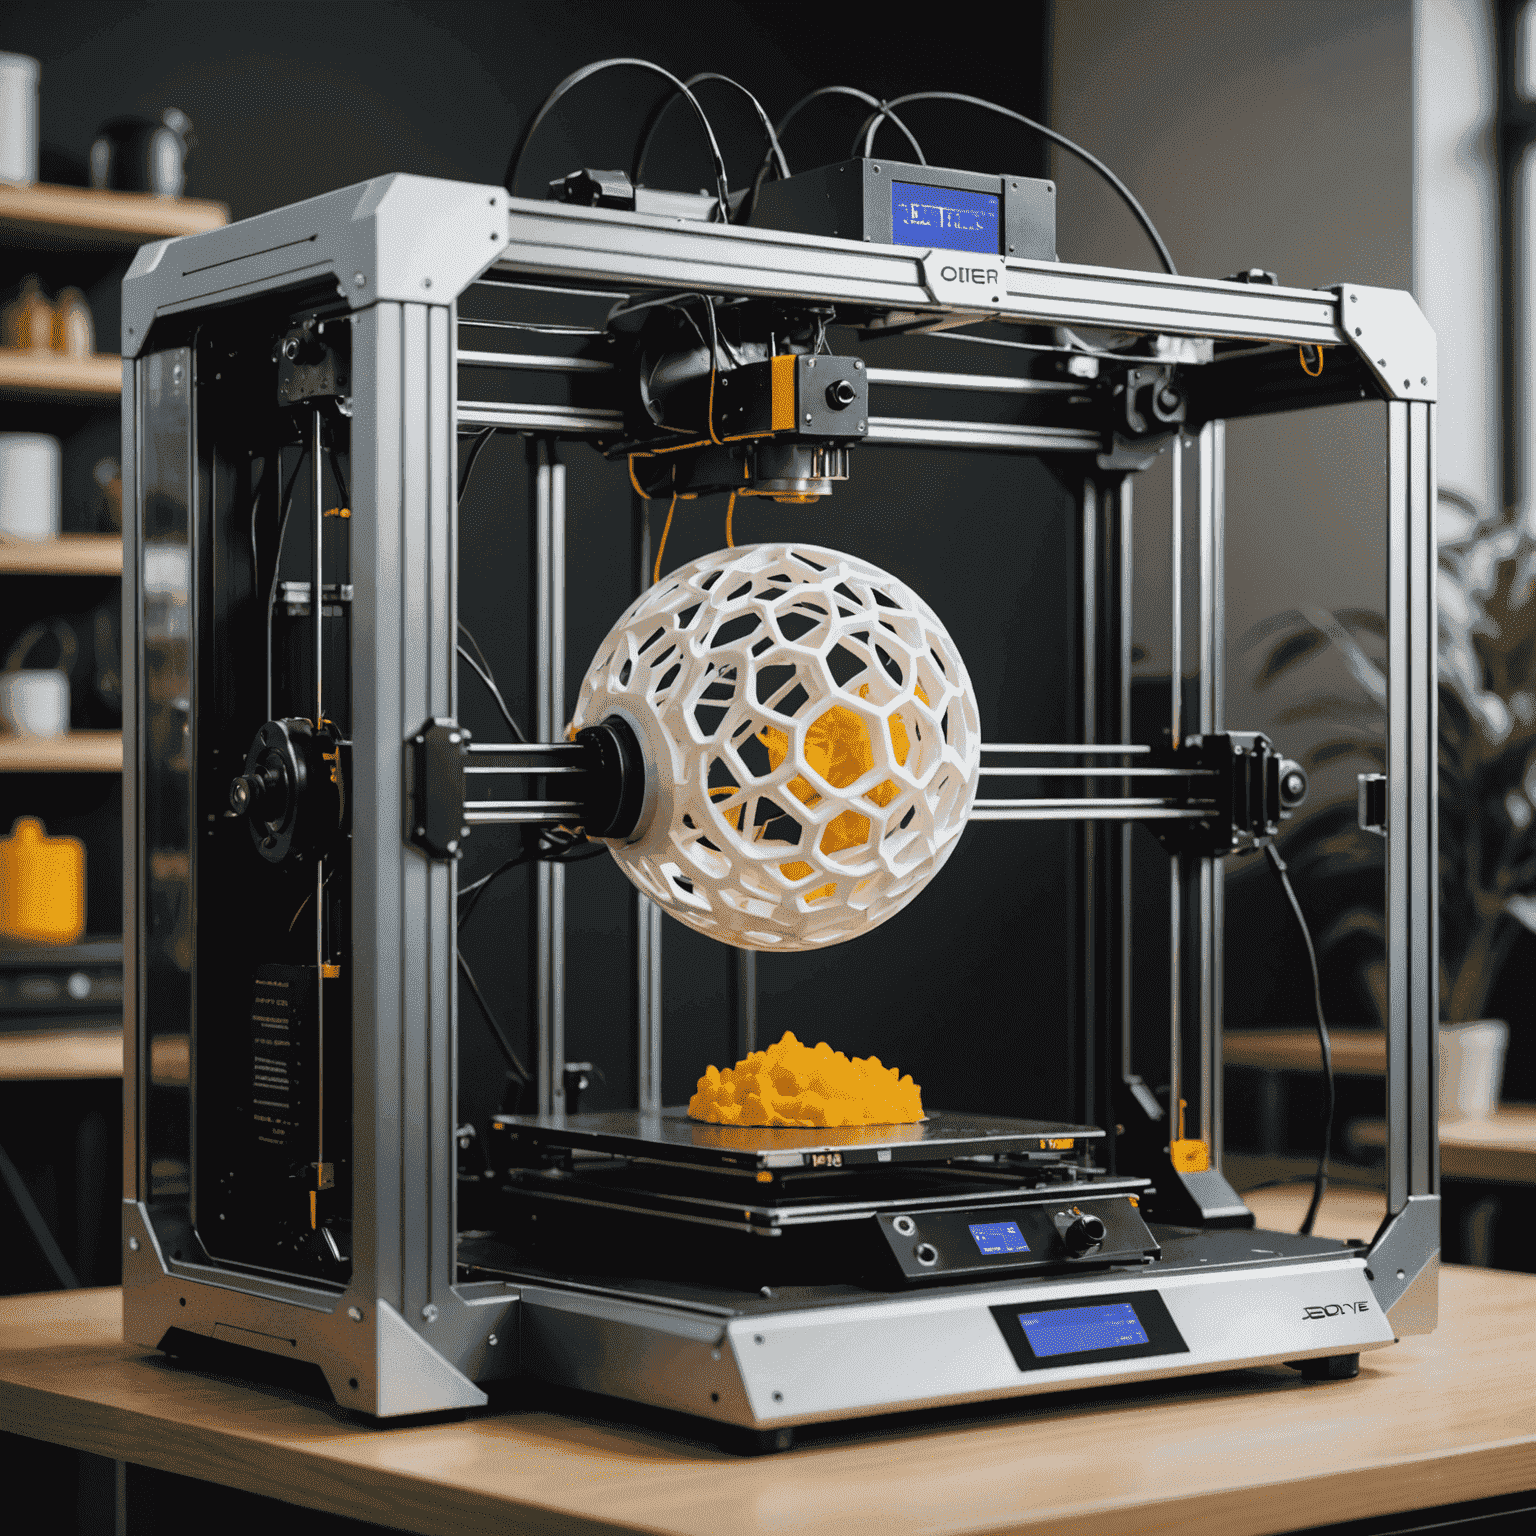
3D printing has revolutionized the way we bring digital designs into the physical world. This comprehensive guide will walk you through the process of preparing your 3D models for printing and help you troubleshoot common issues that may arise.
Preparing Your 3D Model
Before sending your model to the printer, it's crucial to ensure it's optimized for the 3D printing process. Here are the key steps:
- Check for Manifold Geometry: Ensure your model is "watertight" with no holes or gaps in the mesh.
- Optimize Polygon Count: Balance detail with printability by reducing unnecessary polygons.
- Set Appropriate Wall Thickness: Make sure walls are thick enough to be printed but not wasteful of material.
- Consider Support Structures: For overhanging parts, plan where supports will be needed.
- Orientation: Determine the best orientation for your model to minimize supports and optimize print quality.
Slicing Your Model
Slicing is the process of converting your 3D model into printable layers. Use slicing software like Cura or PrusaSlicer to:
- Set layer height for desired detail and print speed
- Adjust infill percentage for strength and material usage
- Configure temperature settings for your specific filament
- Generate support structures if needed
Common 3D Printing Issues and Solutions
| Issue | Possible Cause | Solution |
|---|---|---|
| Layer Separation | Poor bed adhesion or incorrect temperature | Adjust bed leveling, increase bed temperature, or use adhesives |
| Stringing | Excessive temperature or retraction issues | Lower print temperature, increase retraction settings |
| Warping | Uneven cooling or poor bed adhesion | Use a heated bed, add a brim, or use an enclosure |
| Under-extrusion | Clogged nozzle or incorrect flow rate | Clean the nozzle, adjust flow rate, check filament quality |
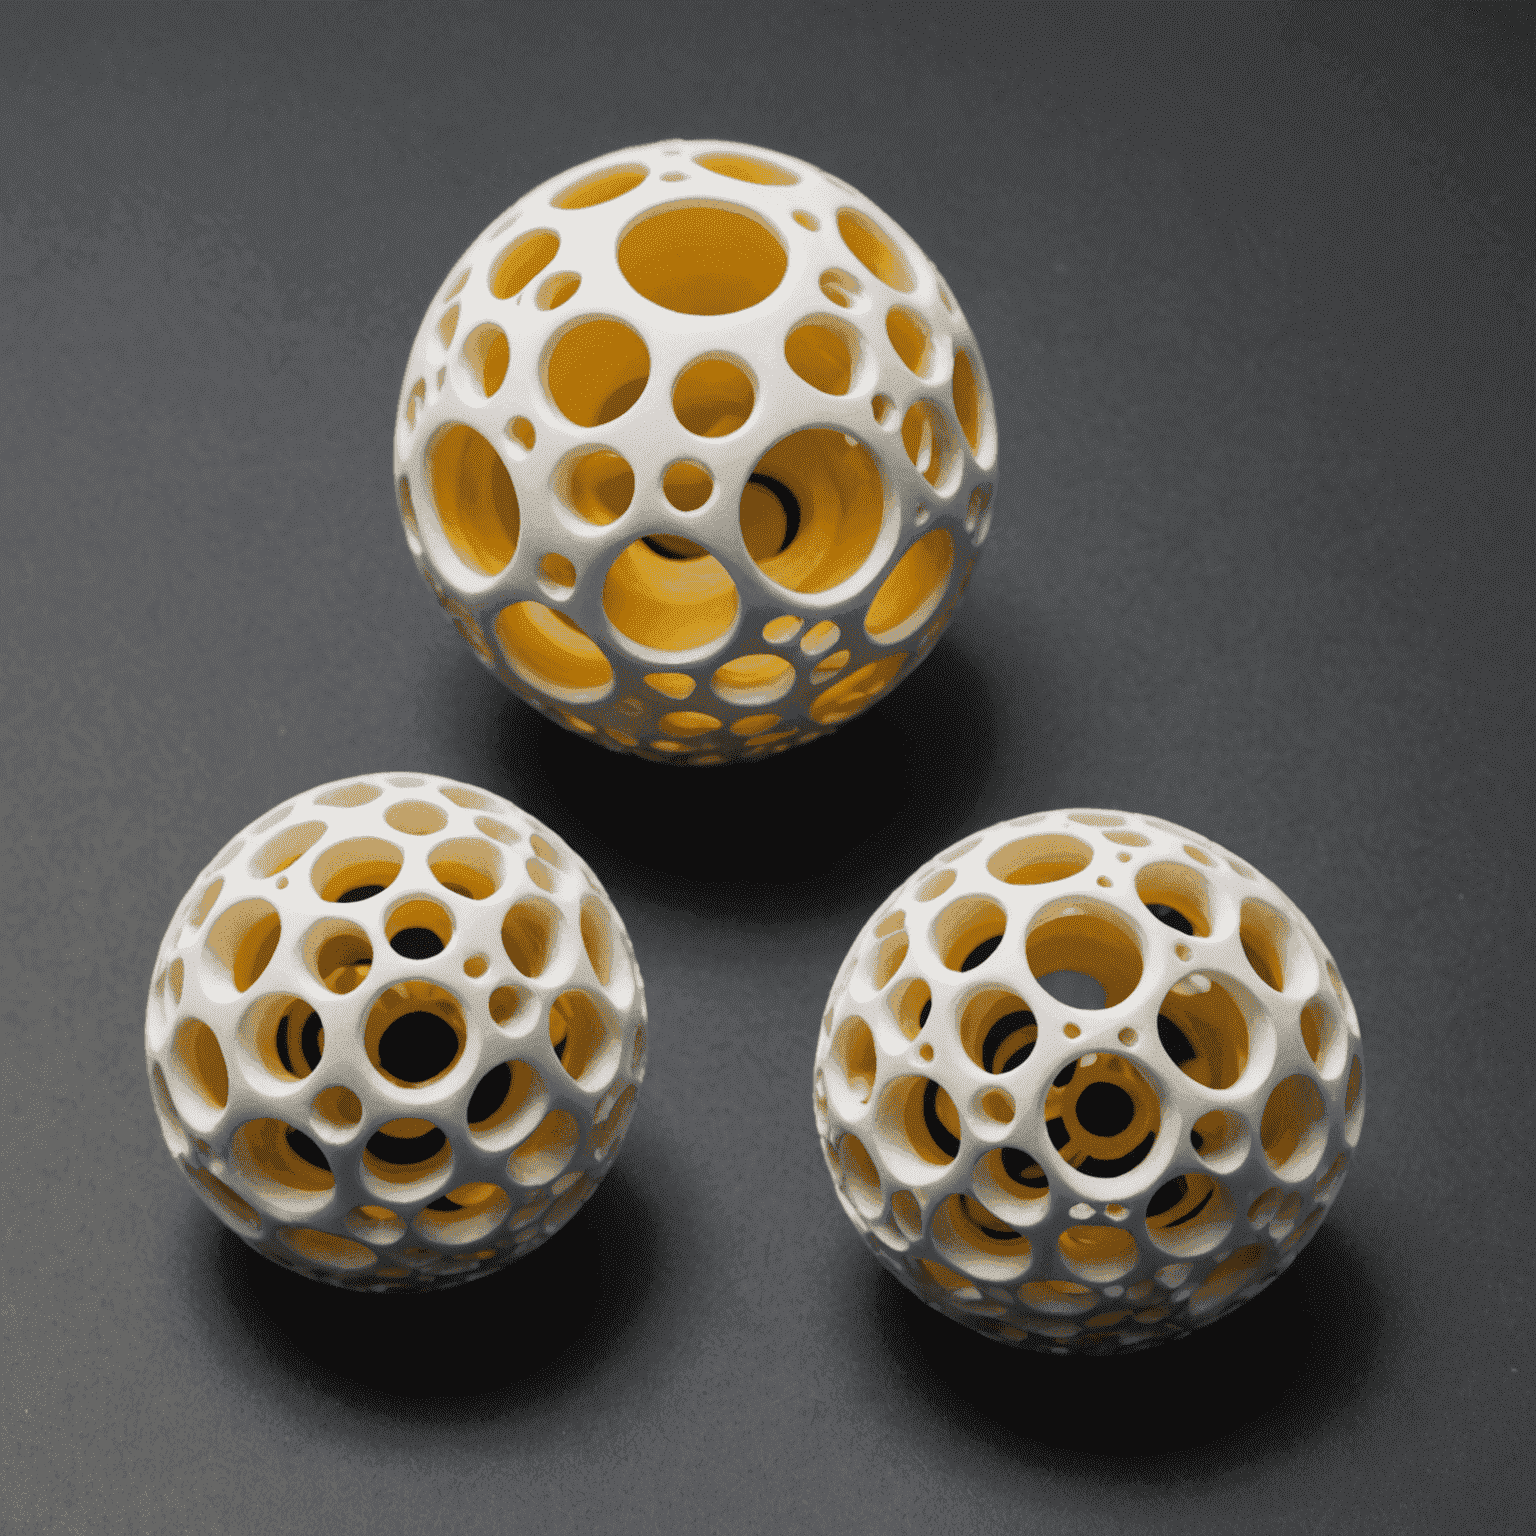
Post-Processing
After printing, your object may require some finishing touches:
- Support Removal: Carefully remove support structures with pliers or a knife.
- Sanding: Smooth surfaces with progressively finer grits of sandpaper.
- Painting: Apply primer and paint for a professional finish.
- Acetone Smoothing: For ABS prints, vapor smoothing can create a glossy surface.
Conclusion
Mastering the 3D printing process from digital model to physical object requires attention to detail and practice. By following this guide and experimenting with different techniques, you'll be able to produce high-quality 3D prints consistently. Remember, each printer and material may have unique characteristics, so don't be afraid to fine-tune your approach for optimal results.
As you continue to explore the world of 3D printing, you'll discover that tools like UltraViewer can be invaluable for remote collaboration and troubleshooting. This powerful screen-sharing software allows you to get expert help or assist others in real-time, making it easier to overcome challenges in your 3D printing journey.